
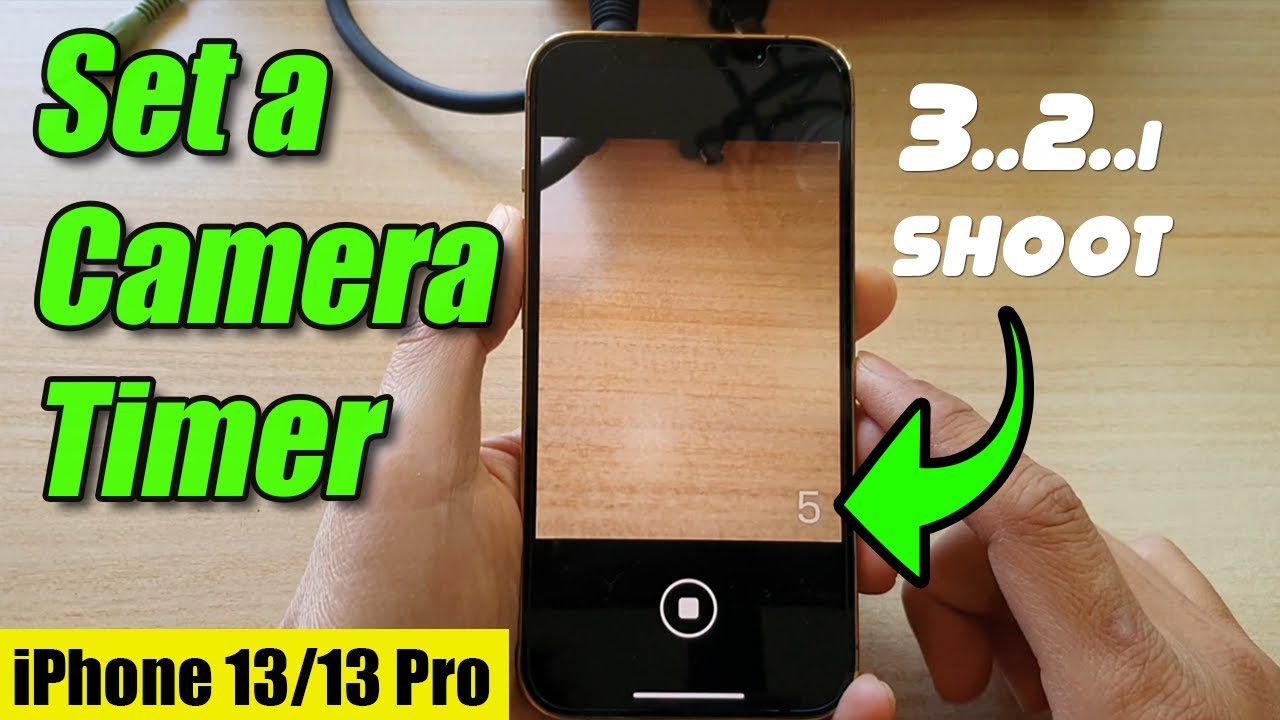
How to Set a Timer on iPhone Camera, open the Camera app, then tap the timer icon. Choose between a 3 or 10-second delay.
Setting a timer on your iPhone camera is a fantastic way to capture group photos or selfies without rushing. The built-in timer feature allows you to position yourself perfectly before the photo is taken. It is also useful for reducing camera shake in low-light conditions.
This feature is easily accessible and straightforward to use, making it convenient for all iPhone users. By using the timer, you can ensure everyone is included in the shot and avoid the need for a separate photographer. Whether you are taking a solo selfie or a group picture, the timer function on the iPhone camera offers a seamless photography experience.
How to Set a Timer on iPhone Camera?
Accessing The Camera App
Want to take perfect selfies or group photos with your iPhone? Setting a timer on your iPhone camera helps you capture moments without rushing. Let’s start by accessing the camera app. Follow these steps to locate and open the camera on your iPhone.
Locating The App
To find the camera app, swipe down from the middle of the home screen. This opens the search bar. Type “Camera” in the search bar. The camera app icon should appear. It looks like a gray camera.
Opening The Camera
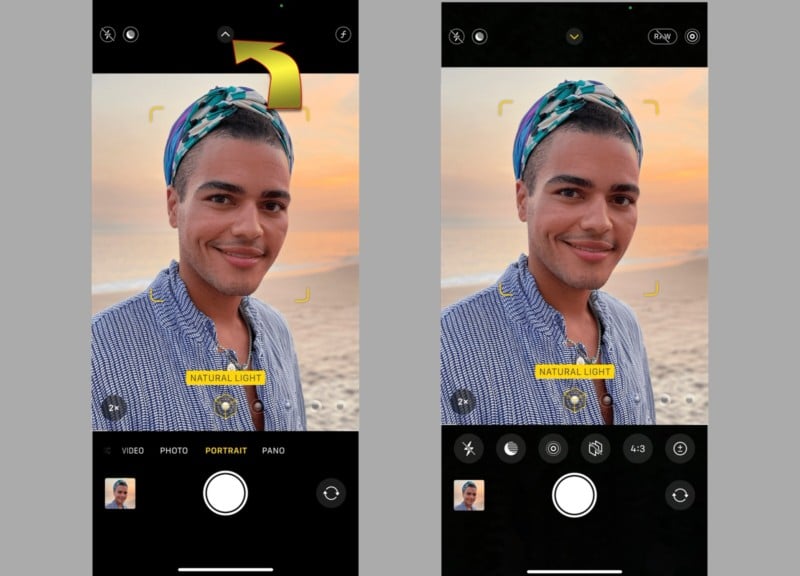
Tap the camera app icon to open it. The camera interface will appear. You are now ready to set the timer. Look for the timer icon at the top of the screen. It looks like a clock.
Tap the timer icon. Choose between a 3-second or 10-second timer. Position your iPhone for the perfect shot. Press the shutter button. The timer will count down before taking the photo. Enjoy your perfectly timed photo!
Setting The Timer
Taking pictures is fun on an iPhone. Sometimes, you need a timer. It helps you get in the shot. This guide will show you how to set it up.
Finding The Timer Option
First, open the Camera app. Look at the top of the screen. You will see a clock icon. This is the timer option. Tap the clock icon.
Choosing Timer Duration
After tapping the clock icon, you will see three choices:
- Off
- 3 seconds
- 10 seconds
Select the duration you want. For a quick shot, choose 3 seconds. For a group photo, choose 10 seconds. Tap on your chosen duration.
The timer is now set. Get ready for your picture. Press the shutter button. The countdown will begin. Smile and wait for the snap!
Taking A Photo With Timer
Using the timer on your iPhone camera can help you take better photos. It gives you time to get into the right position. You can also avoid blurry pictures. Here’s how to make the most out of your iPhone’s camera timer.
Positioning Your Iphone
First, find a stable place to set your iPhone. A table or a shelf works well. If you have a tripod, use it. Make sure your iPhone is secure and won’t fall.
Next, open your camera app. Tap the timer icon at the top. Choose a 3-second or 10-second timer. This gives you time to get ready.
Composing Your Shot
Look at the screen to see what will be in the picture. Make sure everything fits well. You can move objects or people to make it look better.
Use the grid lines on your screen. They help you line up your shot. Place important parts of your photo along these lines.
Press the shutter button. Quickly get into position. The timer will count down. When it reaches zero, the photo will be taken.
Check your photo. If you need to, try again. Practice makes perfect!
Advanced Timer Features
The iPhone camera timer offers more than just a countdown. Advanced features enhance your photography experience. Learn how to utilize these features for better photos.
Burst Mode
Burst Mode captures multiple photos in quick succession. This is perfect for action shots. To use Burst Mode with the timer:
- Open the Camera app.
- Select the timer icon.
- Choose a countdown duration (3 or 10 seconds).
- Tap the shutter button.
After the countdown, the camera takes a burst of photos. This feature helps capture the best moment in a series.
Live Photos With Timer
Live Photos capture moments just before and after you take a picture. Combine this with the timer for dynamic shots. To use Live Photos with the timer:
- Open the Camera app.
- Enable Live Photos by tapping the icon at the top.
- Tap the timer icon and select your countdown duration.
- Press the shutter button.
The iPhone captures a short video around your photo. This adds movement to your pictures, making them more lively.
Editing Timer Photos
Editing timer photos can enhance the quality and aesthetics of your images. Once you’ve captured your timer photos on your iPhone camera, the next step is to make them shine. The iPhone’s built-in tools offer various editing options to perfect your shots.
Using The Photos App
The Photos app on the iPhone is a powerful tool for editing images. Here’s how to use it:
- Open the Photos app on your iPhone.
- Find the photo you took with the timer.
- Tap on the photo to view it in full screen.
- Tap the Edit button at the top right corner.
In the editing screen, you can crop, rotate, and adjust the photo’s light and color. Use the sliders to make your photo look just right.
Applying Filters And Adjustments
Filters can dramatically change the look of your photos. To apply filters:
- Tap on the Filters icon (three overlapping circles).
- Swipe through the available filters to preview them on your photo.
- Select a filter that enhances your photo’s mood or theme.
For more detailed adjustments:
- Tap the Adjust icon (dial with dots).
- Adjust the Brightness, Contrast, and Saturation using the sliders.
These tools help refine the photo, making colors pop and details stand out.
Use these tips to turn your timer photos into stunning visual memories.
Troubleshooting Timer Issues
Setting a timer on your iPhone camera can be tricky. Sometimes, issues arise that prevent the timer from working correctly. Below, we discuss common problems and quick fixes to help you get the timer working again.
Common Problems
1. Timer Not Showing: Sometimes, the timer option doesn’t appear in the camera app. This can be due to software glitches or settings issues.
2. Timer Not Working: The timer may be set, but the camera doesn’t take a photo. This often happens due to app bugs or iOS updates.
3. Timer Delay Issues: The timer starts but delays more than expected. This can be frustrating, especially during group photos.
Quick Fixes

1. Restart Your iPhone: A simple restart can solve many issues. Hold down the power button and slide to power off. Turn it back on and check if the timer works.
2. Update iOS: Make sure your iPhone has the latest software update. Go to Settings > General > Software Update to check for updates.
3. Reset Camera Settings: Sometimes, resetting the camera settings can help. Go to Settings > Camera > Reset Settings.
| Problem | Solution |
|---|---|
| Timer Not Showing | Restart your iPhone or update iOS |
| Timer Not Working | Reset Camera Settings |
| Timer Delay Issues | Check for software updates |
If these fixes don’t work, consider contacting Apple Support for further assistance. Remember, keeping your iPhone updated can prevent many issues.
Conclusion
Setting a timer on your iPhone camera is simple and convenient. Follow the steps to capture perfect moments without rush. Whether you’re taking selfies or group photos, this feature ensures everyone is in the frame. Enjoy your photography experience and make memories effortlessly with your iPhone camera.