
How to Airdrop from Mac to iPhone, open the file on your Mac, click the Share button, and select Airdrop. Ensure both devices have Bluetooth and Wi-Fi enabled.
Airdrop is a convenient feature by Apple that allows users to wirelessly transfer files between devices. It uses both Bluetooth and Wi-Fi to create a direct connection between a Mac and an iPhone. This makes file sharing quick and efficient without needing cables or external applications.
For seamless transfers, ensure both devices are within range and have Airdrop enabled. This method supports various file types, including photos, documents, and videos. Utilizing Airdrop can save time and streamline your workflow, making it an essential tool for Apple users.
How to Airdrop from Mac to iPhone?
Introduction To Airdrop
Airdrop is a handy feature by Apple. It allows easy file transfer between Apple devices. This guide will help you understand Airdrop and how to use it.
What Is Airdrop?
Airdrop is a wireless data transfer service by Apple. It uses Bluetooth and Wi-Fi to connect devices. No need for cables or internet.
With Airdrop, you can share photos, videos, contacts, and more. It’s quick and secure. Both devices must be within 30 feet of each other.
Benefits Of Using Airdrop
- Fast Transfers: Airdrop transfers files quickly.
- Security: All transfers are encrypted.
- Convenience: No need for cables or internet.
- User-Friendly: Simple and easy-to-use interface.
- Versatile: Share a wide range of files.
Using Airdrop is simple. Let’s dive into how you can use it from a Mac to an iPhone.
Setting Up Airdrop On Mac
Airdrop is a great feature to share files quickly. It allows you to transfer photos, documents, and more between Apple devices. Let’s learn how to set up Airdrop on your Mac.
Enabling Airdrop
First, you need to turn on Airdrop. Follow these steps:
- Open Finder on your Mac.
- In the menu bar, select Go and then Airdrop.
- Check if Bluetooth and Wi-Fi are on. If not, enable them.
- Ensure Airdrop is set to Everyone or Contacts Only.
Adjusting Privacy Settings
Adjust your privacy settings for a safer experience. Here’s how:
- Open System Preferences from the Apple menu.
- Select Security & Privacy.
- Click on the Privacy tab.
- Choose Bluetooth and ensure Airdrop is checked.
- Close the window to save changes.
Now your Mac is ready to use Airdrop with your iPhone. Follow these steps to enjoy seamless file transfers.
Setting Up Airdrop On Iphone
Airdrop is a convenient way to share files between Apple devices. Setting it up on your iPhone is simple. Follow these steps to enable and configure Airdrop.
Turning On Airdrop
First, unlock your iPhone. Swipe down from the top-right corner to open the Control Center. In the Control Center, look for the Airdrop icon.
Tap the Airdrop icon. A menu will appear with three options: Receiving Off, Contacts Only, and Everyone. Choose one to enable Airdrop. Airdrop is now turned on.
Choosing Visibility Options
After turning on Airdrop, choose your visibility preference. This controls who can see your device.
- Receiving Off: No one can see your device.
- Contacts Only: Only people in your contacts can see your device.
- Everyone: Anyone nearby with an Apple device can see your device.
If you’re sharing with friends, choose Contacts Only. For a quick file transfer with anyone, choose Everyone.
Remember, you can always change your visibility settings later. Simply revisit the Airdrop icon in the Control Center.
Sending Files From Mac To Iphone
Sending files from a Mac to an iPhone is easy with Airdrop. This feature allows you to quickly transfer files wirelessly. Follow the steps below to make the process smooth.
Selecting Files
First, open the Finder on your Mac. Navigate to the files you want to send. You can select multiple files by holding the Command key and clicking each one.
If you want to send a photo, open the Photos app. Select the photo by clicking on it. For documents, open the app where the document is stored.
Make sure your Mac and iPhone are on the same Wi-Fi network. Also, ensure Bluetooth is enabled on both devices.
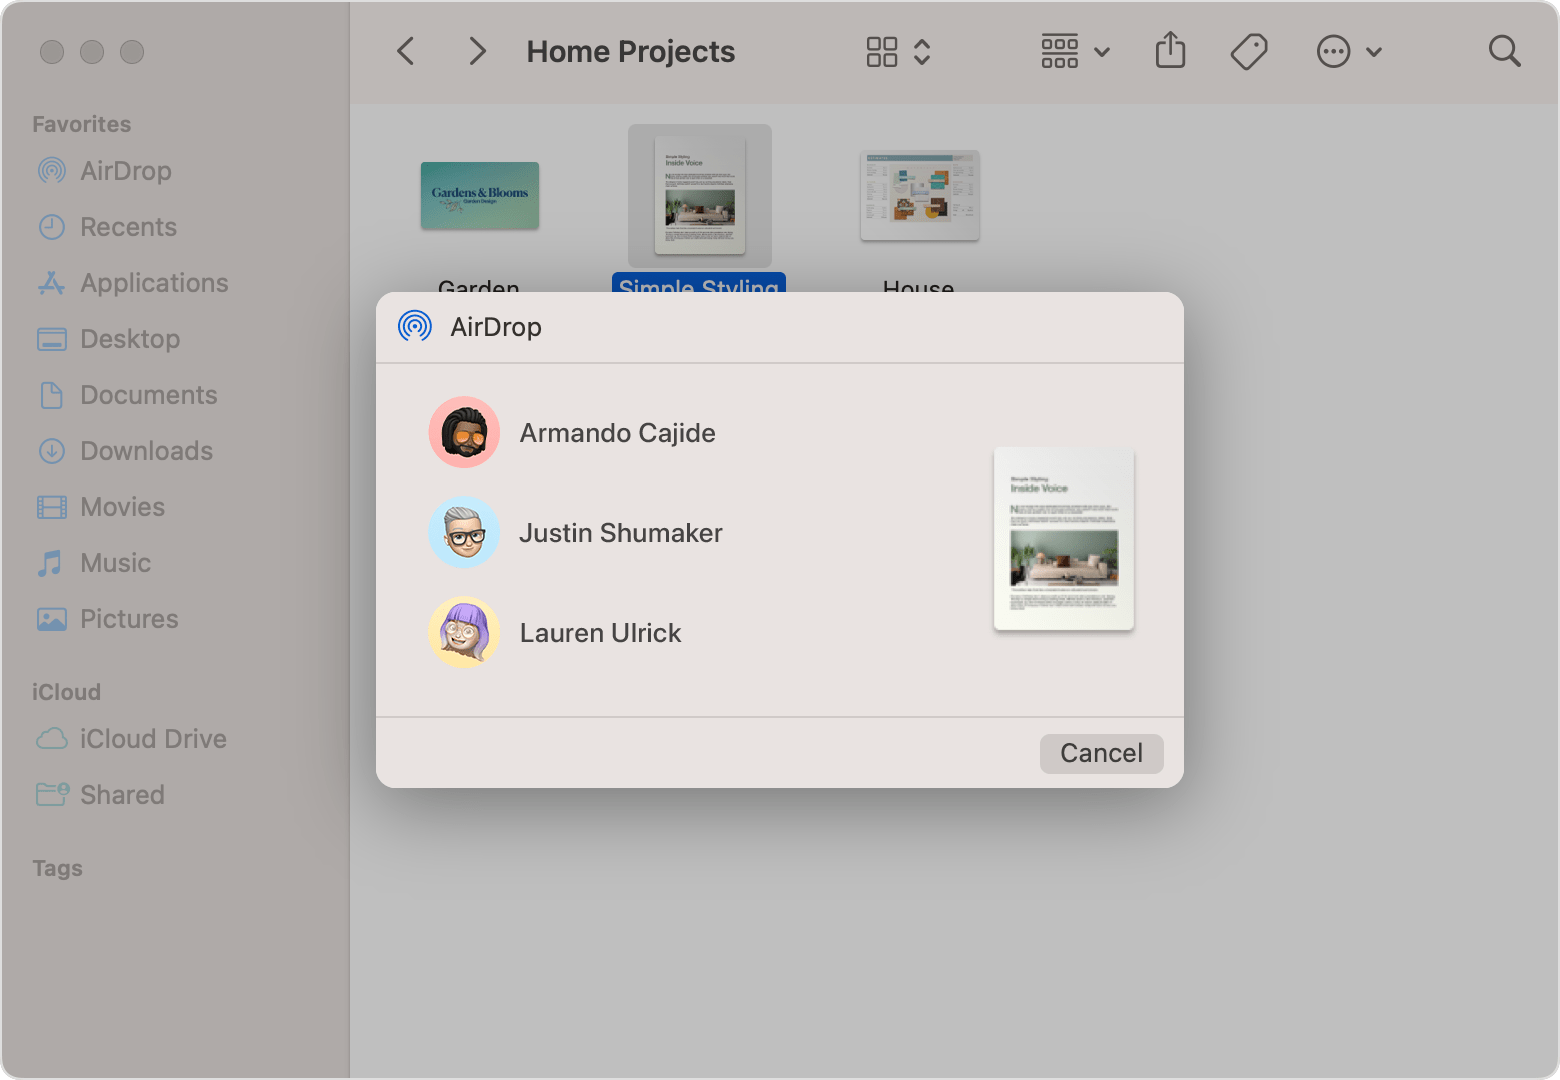
Initiating Airdrop Transfer
Once you have selected your files, click th
e Share button. This button looks like a square with an arrow pointing upward. In the menu that appears, select Airdrop.
A new window will pop up, showing avail
able devices. Locate your iPhone in this list. Click on your iPhone’s name to start the transfer. Your iPhone will receive a notification to accept the files.
On your iPhone, tap Accept to complete the transfer. The files will now be saved to your iPhone’s respective apps.
Using Airdrop ensures your files are transferred quickly and securely. Enjoy seamless file sharing between your Mac and iPhone.
Receiving Files On Iphone
Receiving files on your iPhone through AirDrop is simple and quick. Follow these steps to ensure a smooth transfer. This guide covers two key aspects: Accepting the Transfer and Locating Received Files.
Accepting The Transfer
Once the sender initiates the AirDrop, a pop-up appears on your iPhone.
- Make sure your iPhone is within Bluetooth and Wi-Fi range.
- Ensure AirDrop is enabled on your iPhone. You can do this via the Control Center.
- A prompt will show the file details and sender’s information.
- Tap Accept to start the transfer. The file will begin downloading immediately.
Locating Received Files
Finding your received files depends on their type:
| File Type | Location |
|---|---|
| Photos and Videos | Photos app |
| Documents | Files app |
| Contacts | Contacts app |
| Web Links | Safari or your default browser |
To find a photo, open the Photos app and navigate to the Recents album. For documents, open the Files app and check the Downloads folder.
Knowing where to find your files speeds up your workflow and keeps you organized. Always check the appropriate app for your file type.
Credit: 9to5mac.com
Troubleshooting Common Issues
Having trouble using AirDrop from your Mac to iPhone? You’re not alone. Many users face common issues during the process. This section will help you troubleshoot common problems.
Connection Problems
Connection problems are frequent when using AirDrop. These issues can prevent successful file transfers.
- Ensure Bluetooth and Wi-Fi are enabled on both devices. AirDrop needs both to work.
- Keep devices close to each other. Distance can affect the connection.
- Restart both devices if the connection fails. This can reset the network settings.
Compatibility Issues
Compatibility issues can also disrupt the AirDrop process. Make sure both devices support AirDrop.
| Device | Compatibility |
|---|---|
| Mac | OS X Yosemite or later |
| iPhone | iOS 7 or later |
Check the operating system version on both devices. Update if necessary.
- Go to System Preferences on Mac to check the OS version.
- Go to Settings on iPhone to check the iOS version.
Tips For A Smooth Airdrop Experience
Airdropping from a Mac to an iPhone can be very handy. It lets you share files quickly without cables. Follow these tips for a smooth Airdrop experience.
Optimizing Device Settings
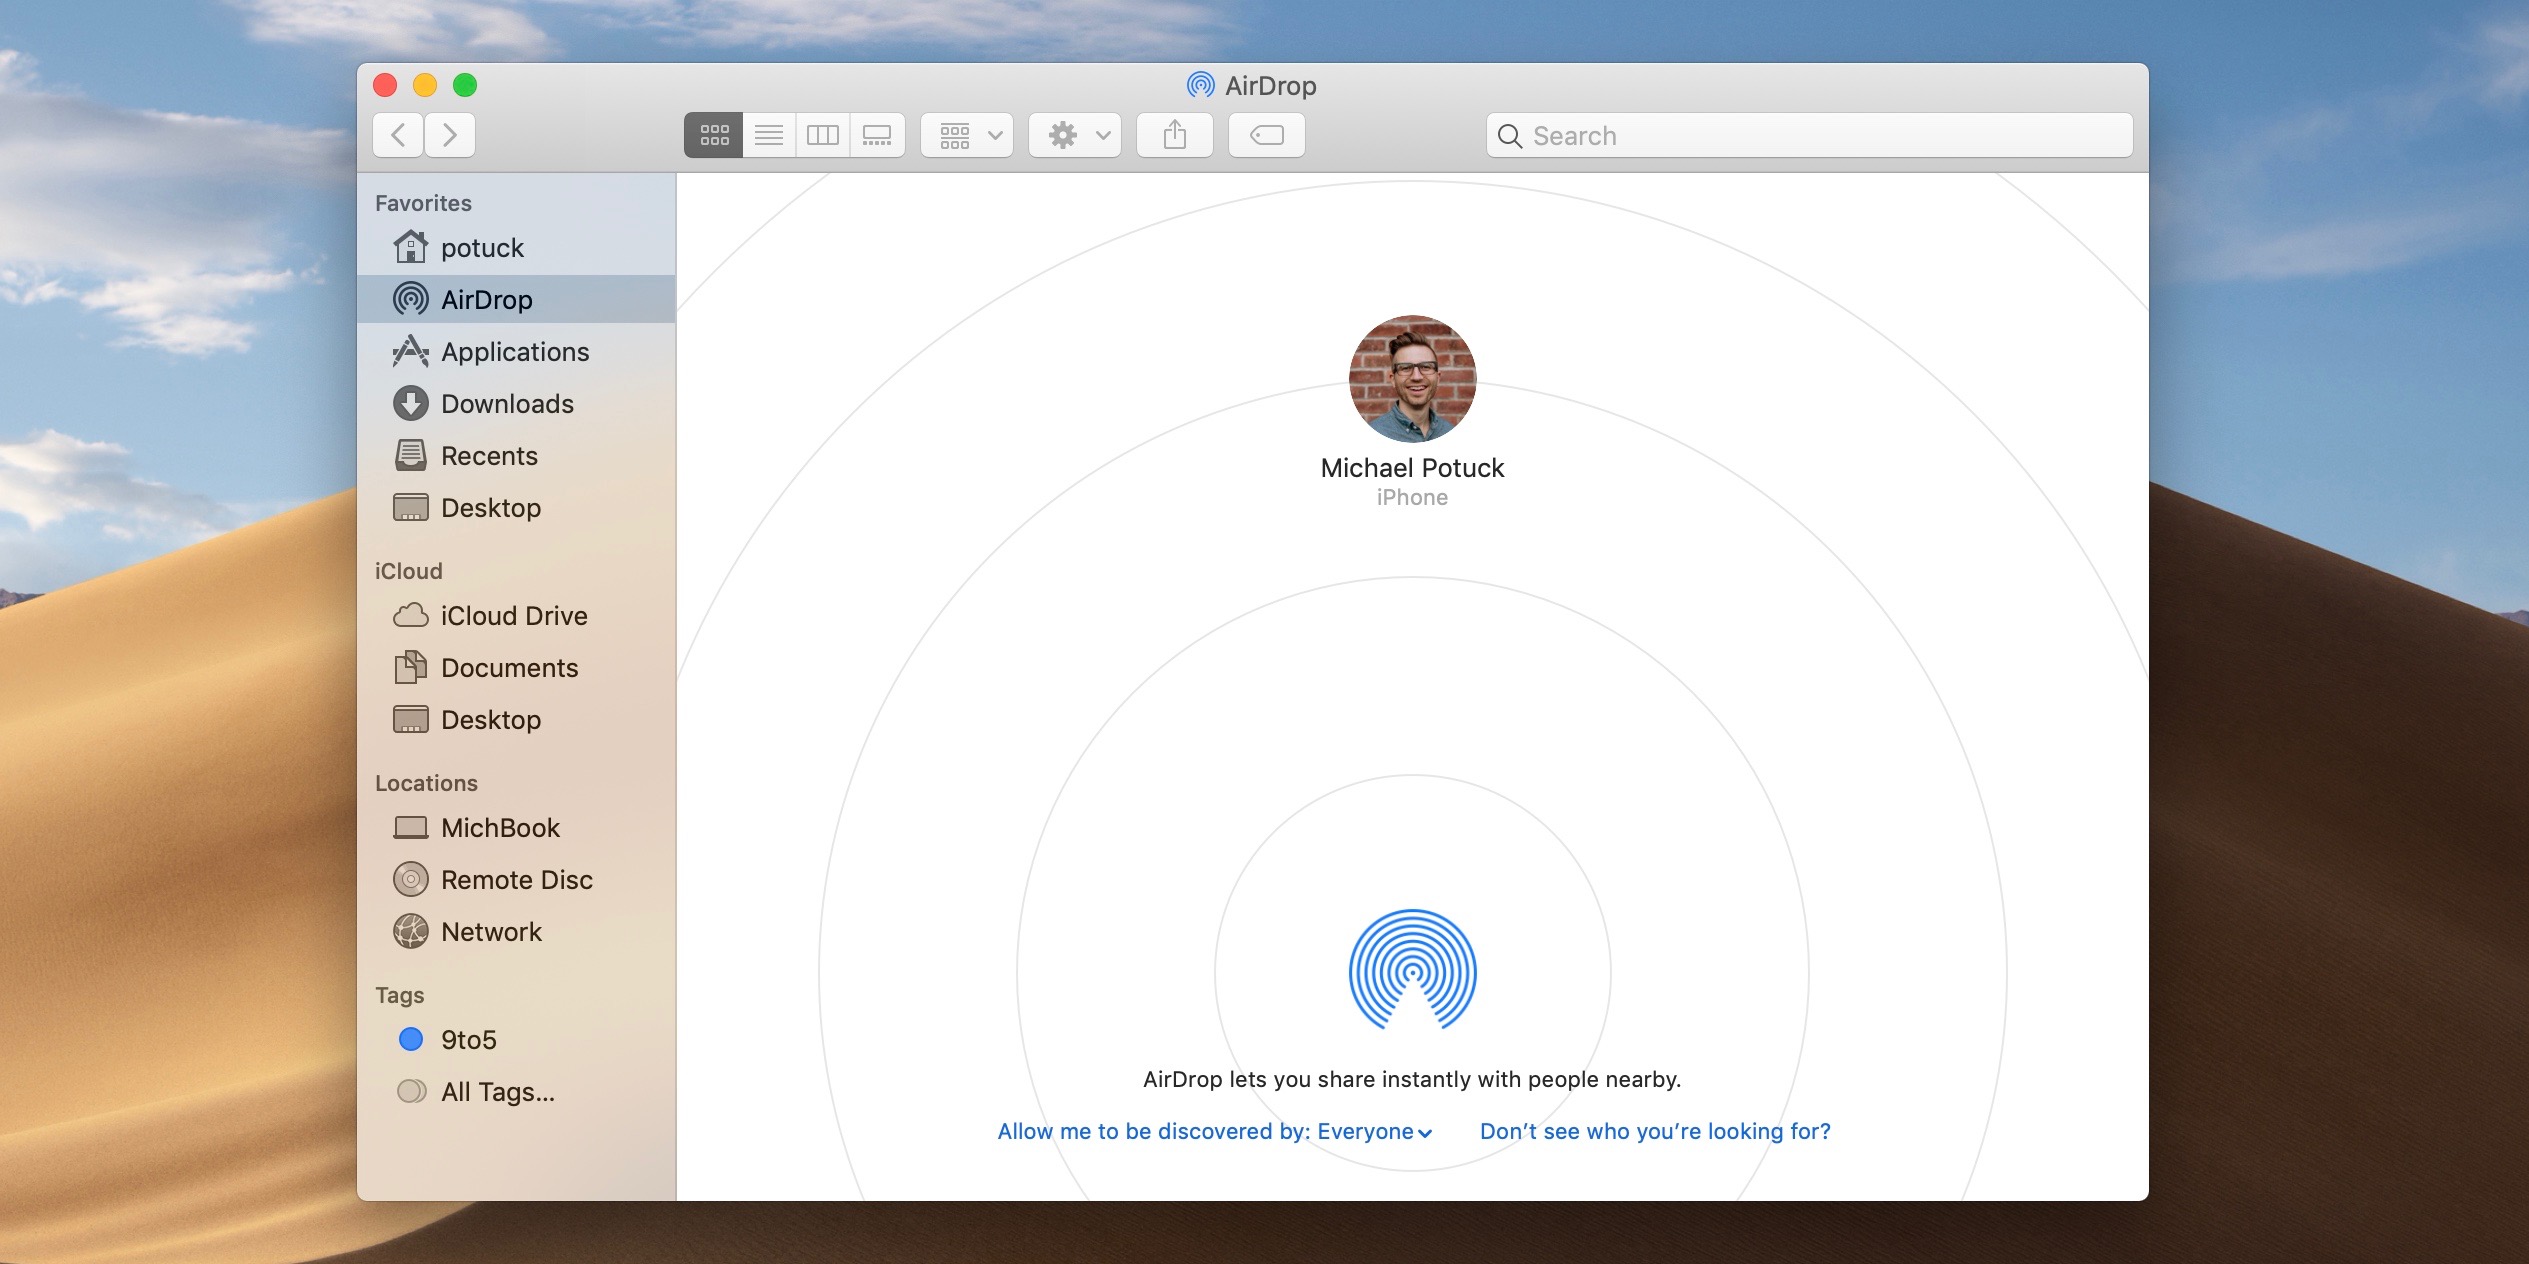
First, make sure both devices have Bluetooth and Wi-Fi enabled. This ensures they can find each other. Next, set your iPhone to be visible to everyone or only contacts. You can do this in the Control Center by holding down the network settings card and tapping on Airdrop. Choose either Contacts Only or Everyone.
On your Mac, open the Finder and click on the Airdrop tab. At the bottom, set “Allow me to be discovered by” to Everyone or Contacts Only. This makes your Mac visible to your iPhone.
Ensuring Stable Connections
For a smooth transfer, both devices should be close to each other. A distance of 30 feet or less is best. Avoid obstacles like walls or metal objects. They can interfere with the signal.
Keep other devices that use Bluetooth and Wi-Fi away during the transfer. This reduces interference and ensures a stable connection.
Restart both devices if the Airdrop is not working. Sometimes, a quick restart can resolve connectivity issues.
| Step | Action |
|---|---|
| 1 | Enable Bluetooth and Wi-Fi on both devices |
| 2 | Set Airdrop visibility to ‘Everyone’ or ‘Contacts Only’ |
| 3 | Keep devices close (within 30 feet) |
| 4 | Restart devices if needed |
Alternative Methods For File Transfer
Sometimes, Airdrop might not be the ideal solution for file transfers. You might face compatibility issues or connectivity problems. Fortunately, there are other ways to transfer files from your Mac to your iPhone. Here are some alternative methods for file transfer.
Using Cloud Services
Cloud services can make file transfers seamless and convenient. Here’s how to use them:
- iCloud Drive: Enable iCloud Drive on both devices. Upload files on your Mac. Access them on your iPhone through the iCloud Drive app.
- Google Drive: Install Google Drive on both devices. Upload files from your Mac. Download or view them on your iPhone.
- Dropbox: Use Dropbox for quick file transfers. Upload files on your Mac. Access them on your iPhone using the Dropbox app.
Employing Usb Transfer

USB transfers offer a traditional and reliable method:
- Connect your iPhone to your Mac using a USB cable.
- Open Finder or iTunes on your Mac.
- Select your iPhone from the sidebar.
- Navigate to the File Sharing section.
- Drag and drop files into the designated app folder.
For larger files, this method proves efficient. It ensures files are transferred quickly without relying on internet speed.
Conclusion
Mastering Airdrop from Mac to iPhone enhances your productivity and file-sharing efficiency. This seamless method saves you time and hassle. With just a few clicks, you can transfer files effortlessly. Follow our guide, and you’ll become an Airdrop pro in no time.
Start sharing your files today with ease!