How to change apple store id on iPhone, go to Settings, tap your name, and sign out. Then sign in with a new Apple ID.
Changing your Apple Store ID on an iPhone can be necessary for various reasons, such as accessing different app stores or managing multiple accounts. The process is straightforward and only takes a few minutes. By following the steps, you can seamlessly switch between Apple IDs without any hassle.
This guide will help you understand the steps involved in changing your Apple Store ID, ensuring you can easily manage your accounts. Always remember to back up your data before making any changes to avoid losing important information. Regularly updating your Apple ID can also enhance your device’s security.
How to Change Apple Store Id on iPhone?

Preparing Your Iphone
Changing your Apple Store ID on your iPhone requires some preparation. These steps ensure your data is safe and the process goes smoothly. Follow these simple guidelines to get started.
Backup Your Data
Before making any changes, create a backup of your iPhone. This step is crucial to prevent data loss. Here’s how you can do it:
- Open the Settings app on your iPhone.
- Tap on your name at the top, then select iCloud.
- Scroll down and tap on iCloud Backup.
- Ensure that the iCloud Backup toggle is turned on.
- Tap Back Up Now and wait for the backup to complete.
Ensure Internet Connection
An active internet connection is necessary for this process. Make sure your iPhone is connected to a stable Wi-Fi network. Follow these steps to check your connection:
- Go to the Settings app on your iPhone.
- Tap on Wi-Fi to see available networks.
- Select a reliable network and enter the password if needed.
- Ensure the Wi-Fi toggle is on and the connection is active.
With your data backed up and your internet connection secure, you are ready to change your Apple Store ID.
Logging Out Of Current Apple Id
Changing your Apple Store ID on your iPhone starts with logging out of your current Apple ID. This is a simple process, but it requires a few specific steps. Below, we outline how to log out of your current Apple ID.
Open Settings
First, locate the Settings icon on your home screen. The icon looks like a gear and is usually found on the first page of apps. Tap on this icon to open the Settings menu.
Navigate To Apple Id
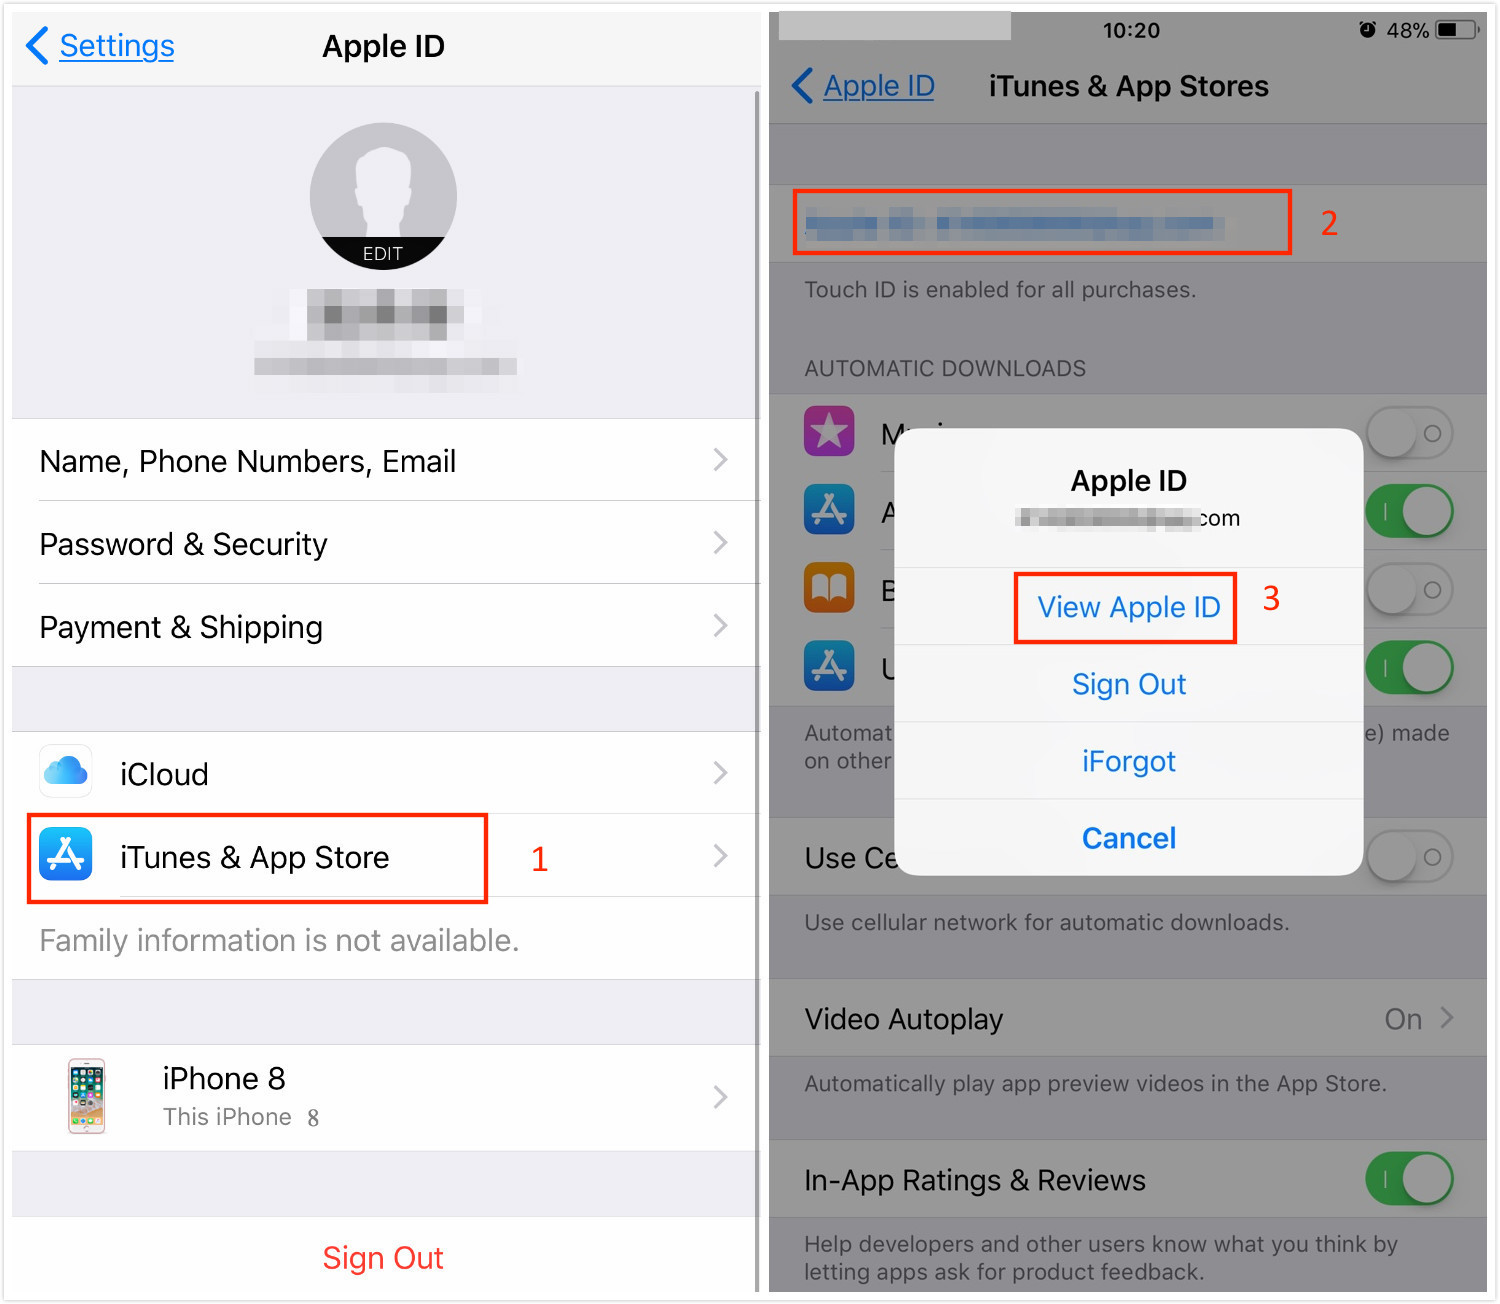
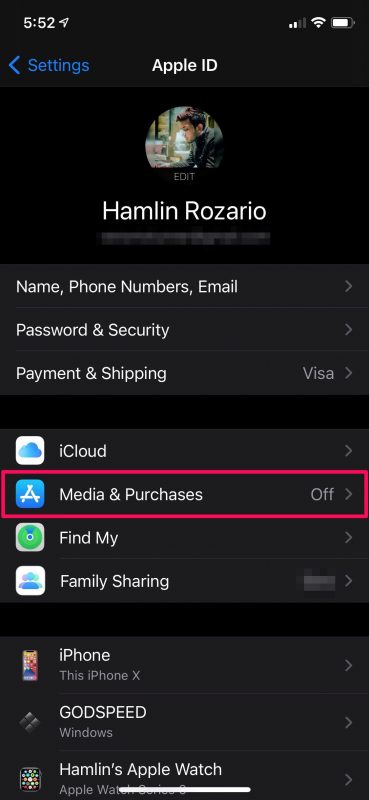
Once in Settings, look at the top of the screen. You will see your name and profile picture. Tap on your name to open the Apple ID menu. This menu contains all your Apple ID information and settings.
Sign Out
Scroll to the bottom of the Apple ID menu. Here, you will find the Sign Out option. Tap on Sign Out. You may be asked to enter your Apple ID password. Enter your password to confirm. After that, your iPhone will log out of your current Apple ID.
Remember to save any data linked to your Apple ID before signing out. This includes photos, contacts, and app data.
Creating A New Apple Id
Changing your Apple Store ID on your iPhone starts with creating a new Apple ID. Follow these simple steps to set up a new ID.
Visit Apple Id Website
Open your browser and visit the Apple ID website. This is where you can create your new Apple ID.
Fill In Required Information
Fill in the required information on the Apple ID form. Here is what you need to provide:
- First Name
- Last Name
- Country
- Birthdate
- Email Address
- Password (Ensure it’s strong)
Verify Your Email
After filling in your details, Apple will send a verification email. Open the email and click the verification link.
Once verified, you can use your new Apple ID on your iPhone.
Signing In With New Apple Id
Changing your Apple Store ID on your iPhone is simple. You need to follow a few steps. This guide helps you sign in with a new Apple ID.
Open Settings Again
First, open the Settings app on your iPhone. Scroll down and tap on Sign in to your iPhone. This is usually at the top of the screen.
Enter New Apple Id
Enter your new Apple ID and password. Make sure the details are correct. If you don’t have a new Apple ID, you can create one.
Complete The Setup
After signing in, follow the on-screen instructions. You may need to verify your identity. You will also have to agree to the Terms and Conditions. Once done, your iPhone will sync with the new Apple ID.
Below is a summary of the steps:
| Step | Action |
|---|---|
| 1 | Open Settings |
| 2 | Tap on Sign in to your iPhone |
| 3 | Enter new Apple ID |
| 4 | Follow on-screen instructions |
Updating App Store Settings
Changing your Apple Store ID on your iPhone is essential. It helps you access different apps and services. Let’s walk through the steps to update your App Store settings easily.
Open App Store
First, locate the App Store icon on your home screen. Tap to open it. The App Store is your gateway to millions of apps and updates.
Once open, tap on your profile picture at the top right. This will take you to your account settings.
Sign In With New Id
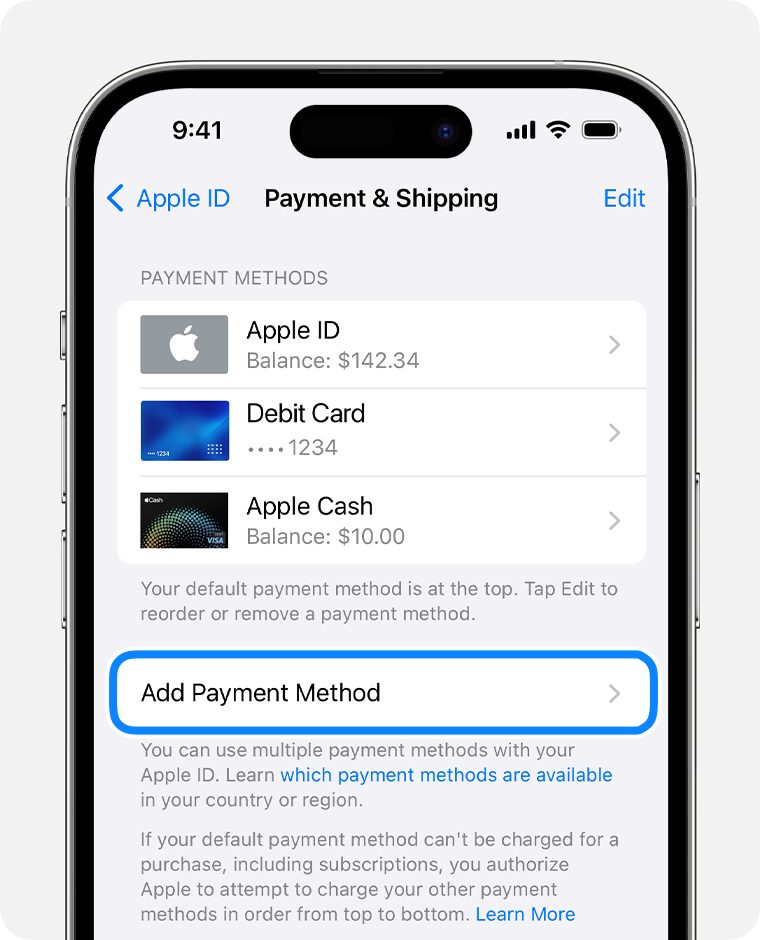
Scroll down to the bottom of the screen. Tap on Sign Out. This will log you out of your current Apple ID.
After signing out, you will see a Sign In option. Tap it. Enter your new Apple ID and password. Tap Sign In to complete the process.
Check For Updates
Once signed in, navigate to the Updates tab at the bottom of the screen. Here you can see all available app updates. Ensure your apps are up-to-date.
Tap Update All to install all updates at once. This keeps your apps running smoothly with your new Apple ID.

Syncing Your Data
Changing your Apple Store ID on your iPhone is simple. But syncing your data correctly is key. This ensures you don’t lose essential files, photos, or contacts. Follow these steps to sync your data efficiently.
Enable Icloud Services
First, make sure iCloud services are enabled. Go to Settings > [Your Name] > iCloud. Here, toggle on all necessary services like Contacts, Photos, and Documents.
- Contacts
- Photos
- Documents
This step ensures your data is backed up before changing your Apple Store ID.
Sync Contacts And Photos
Next, open the Contacts app to confirm the sync. All your contacts should appear. If not, check your iCloud settings again. For photos, open the Photos app. Ensure all recent photos are visible.
If you have a large photo library, this may take a few minutes. Make sure you are connected to Wi-Fi.
Verify Data Transfer
Finally, verify that all data has transferred correctly. Go to Settings > [Your New Apple ID] > iCloud. Check each service to make sure everything is synced.
- Contacts
- Photos
- Documents
Look at the iCloud Storage section. This shows how much data is stored. Ensure the numbers match your expectations.
If any data is missing, return to your old Apple ID. Repeat the syncing steps.
Managing Subscriptions
Changing your Apple Store ID on your iPhone can affect your subscriptions. Managing these subscriptions ensures you don’t lose access to services. Follow these steps to handle your subscriptions effectively.
Review Active Subscriptions
Start by checking your current subscriptions. Open the Settings app and tap on your name. Then, select Subscriptions. Here, you will see a list of your active subscriptions.
- Note each subscription.
- Check the renewal dates.
- Identify which ones you want to keep.
Transfer Or Cancel Old Subscriptions
Decide if you need to transfer or cancel subscriptions. Some services allow transferring subscriptions to a new Apple ID. For others, you might need to cancel and resubscribe.
- Open the Subscriptions screen in Settings.
- Select the subscription to transfer or cancel.
- Follow the on-screen instructions.
Remember to confirm any changes you make.
Set Up New Subscriptions
After changing your Apple Store ID, set up new subscriptions. Open the App Store and sign in with your new Apple ID.
- Search for the apps or services you need.
- Select the subscription option.
- Complete the payment process.
This ensures you maintain access to all your necessary services.
Troubleshooting Common Issues
Changing your Apple Store ID on an iPhone can be easy. But sometimes, you may face issues. Let’s troubleshoot common problems to make the process smoother.
Apple Id Verification Problems
Sometimes, your Apple ID may not verify. Here are steps to solve this issue:
- Ensure you have a strong internet connection.
- Check if your Apple ID and password are correct.
- Update your iPhone to the latest iOS version.
- Restart your iPhone and try again.
App Store Errors
App Store errors can be frustrating. Follow these steps to fix them:
- Sign out of the App Store and sign back in.
- Clear the App Store cache by tapping ten times on any tab.
- Reset your network settings: Go to Settings > General > Reset > Reset Network Settings.
- Ensure your payment information is up to date.
Data Sync Issues
Data sync issues can occur after changing your Apple Store ID. Here’s how to resolve them:
- Ensure iCloud is turned on: Go to Settings > Your Name > iCloud.
- Check if all relevant data types are enabled.
- Sign out and back into iCloud.
- Restart your iPhone to refresh sync settings.
By following these steps, you can solve common issues when changing your Apple Store ID. Always keep your iPhone updated and your data backed up for the best experience.

Conclusion
Changing your Apple Store ID on an iPhone is straightforward. Follow the steps outlined, and you’ll be set. This ensures your device stays updated with your current Apple ID. Remember, keeping your Apple ID current helps with app purchases and downloads.
Enjoy a seamless Apple experience!


